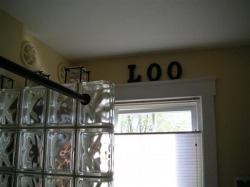
the McKennas
  • Home
  • News
  • The Crew
    • Elise
    • Jess
    • Sean
    • Cosmo
    • Sadie
    • Gumpy
  • D.I.Y.
    • Exorcism
    • Exterior
    • Patio
    • Second Floor
    • Bathroom
    • Remodel 2006
    • Kitchen TV
    • Finishing
  • Multimedia
  • Photos+
  • Links

Shower Tile

Picture
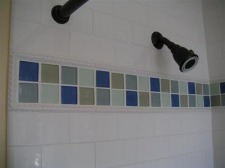
The 2x2 inch glass tiles used as a decorative border in the tub/shower surround.  The band of glass tiles is bordered with a braid trim.   The shower curtain rod was a little tricky.  We wanted it to match the other finishes.  So, I ended up getting a length of electrical conduit, cutting it to size, and spray painting it.  The "rod" is mounted using closet rod mounting parts.


Window Area

Picture
This shot shows the window in the background, with the quirky LOO sitting atop the head casing.  In the upper right, you'll notice some speakers.  More on those elsewhere ...


Picture
Here's a close-up view of the sink-side cubby.  Totally cool.  A perfect place to put all of you toiletries as you pretty up.

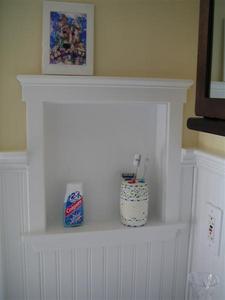
Shower Marble Detail

Picture
Here's a close-up view of a nice little detail courtesy of yours truly.  A custom-made slab of white carrera marble was used as the sill for the glass block wall.  Bringing it back to the wall, I decided to add a little flare and precious shower stall real estate.  I think that is my one item in the shower.


Custom Cabinet

Picture
This is the cabinet I made to match the medicine cabinet we got from a store.  These pictures don't do it justice.  She's a beauty.  Made from Mahogany and Mahogany veneer panels.  Stained a warm, deep brown and finished with a hand-rubbed polyurethane.

The panel doors are made with dadoed rails and stiles.  Lap joints were used for the door frames.  The cabinet joinery is mostly mortise and tenon.  Or something like that.


Picture
BINGO!  Open this puppy up and what do you find.  Not a bunch of bath salts and skin lotions.  No way!  Instead, a Kenwood car audio CD/receiver!  That's right - a car stereo!  You got it, I pimped the bathroom.  The CD unit drives two marine speakers in the wall above the cabinet.


Picture
For all you geeks wondering how I did it.  It's actually very simple.  I wired a regular 120V/20A wall receptacle in the back of the cabinet.   Plugged into that is an AC/DC converter that delivers 6A of current at 12V.  The stereo is rated at 22W RMS and 50W peak per channel. That means about 3.7A draw at the nominal wattage and 8.3A peak.  So, I went with 6A.  Any more and you're looking at a serious power supply.  The converter came wired on the 12V side with a female cigarette lighter connector.  I lopped that off and wired up some Romex connectors to the stereo leads.  Another pair of Romex connectors take care of the speaker connections.


Picture
What's this you ask.  This the wall directly behind the cabinet, before the cabinet went up.  In the wall cavity, I installed a car radio antenna.  Hey, ya gotta get reception!

Back to the Bathroom Project main page
Copyright © 2022 the McKennas