The Exposed Floor Joists
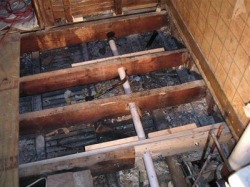
This photo has quite a lengthy story attached to it. We need not go into it here. Suffice to say, never let a plumber use a reciprocating saw. Or any saw for that matter! Special props go out to Big D, the man who helped me rectify this mess.
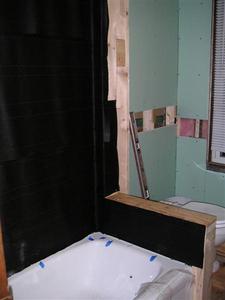
Here is the back corner of the tub/shower enclosure. The tub is in place and the base for the glass block wall has been built. The black stuff is roofing felt. That goes up on the studs before the cement board as an added measure of waterproofing.
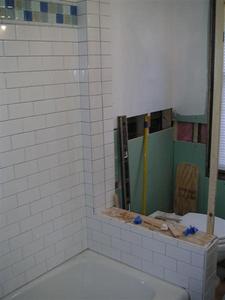
The same corner after the tiling has been completed and before grouting. You might notice the toilet in the background. Where's the tank you might ask. We didn't have a tank until the very end of the project when the plumber was able to connect the tank supply. Until that point we flushed like they did in the old days - with a bucket.
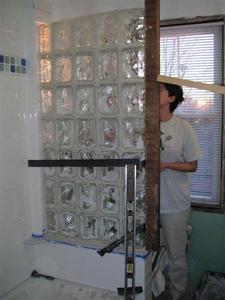
This is near the end of the glass block wall construction. It was a little hairy a times, but we did a great job! Notice the ample use of duct tape to hold the blocks in place. And that big ol' 140-year-old 2x4.

The finished wall (and bathroom). The top-down, bottom-up window blind in the window is key. It lets in the light we wanted and illuminates the shower beautifully.
|
The Sink Wall
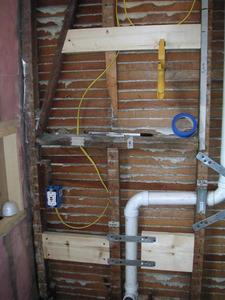
This is the sink wall opened up. The rough plumbing is complete. The wiring for the sink receptacle is also finished. And several pieces of blocking have been added in anticipation of mounting the pedestal sink and medicine cabinet. At the left, is the roughed out sink-side cubby and newly reinsulated exterior wall.
|