The Need
We have been in our new home for almost a year now, and during this time, the subject of a music system has popped up regularly. Music and video, to be precise. The what, where, and how for each. We had a pretty nice set up at the old place. The TV was a nice SONY HDTV and we had/have a sweet Logitech Harmony One remote, which controlls the TV, DVD, NetFlix, and stereo. The music system was a combination of a traditional component rack (Rotel pre-amp, Rotel amp, Technics CD changer, and NEC tuner) plus a digital music player - the Roku Soundbridge M1000. The latter was the bomb. It wirelessly accessed a dedicated PC that served up our entire music collection. That PC was an antique - a Pentium II, 1.9 MHz headless desktop. Long story, short, we are not able to replicate the Roku set up in the new house with the new Verizon cable modem/router. Our home network runs WPA2 wireless security and the Roku is sufficiently old enough that it does not support said security protocol. That, and the music server PC is starting to reach borrowed time status. So, we needed a new scheme to play our digital music collection, which by the way, exceeds 7500 songs. After some research and a fair bit of head-scratching, we have settled on a solution: NAS + SONOS.
Phase I: Set up media server (NAS)
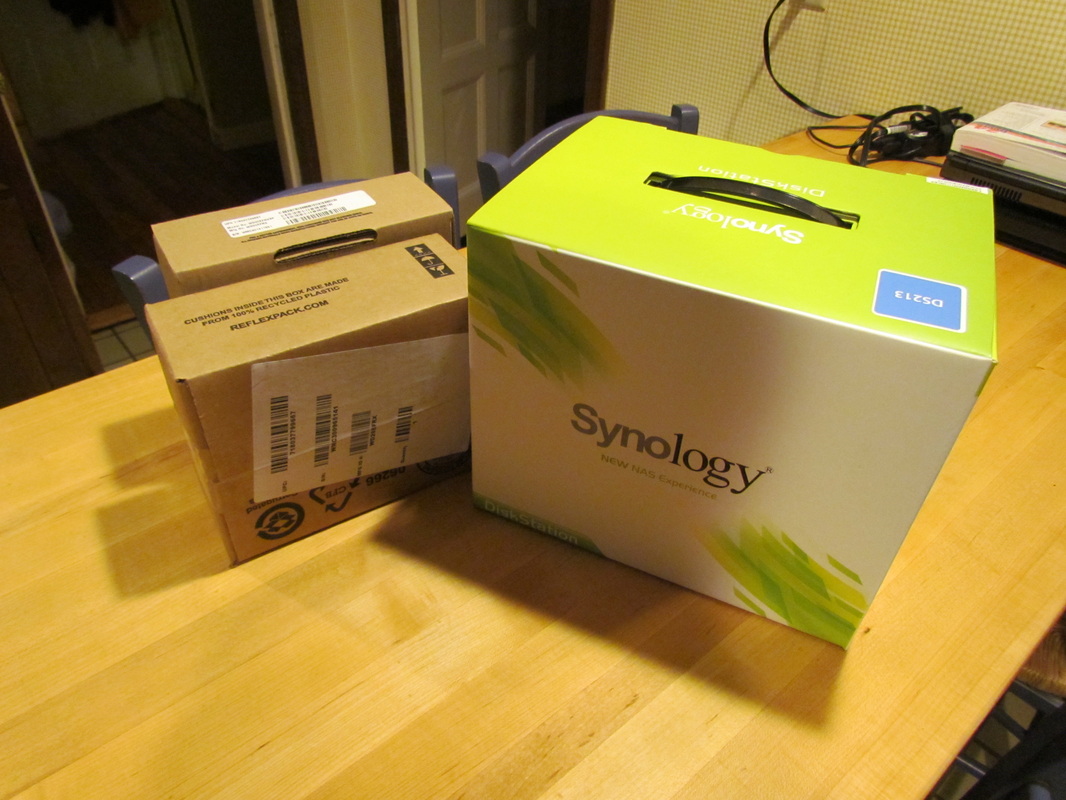
Synology DS213 NAS and two Western Digital drives, 2 TB each.
NAS. Network Attached Storage. Still not clear? Basically, it's a big-a$$ hard drive that sits on your home network. I'll avoid the details, but wikipedia (of course) explains it. There are all sorts of NAS options ranging from rather simple and inexpensive (home use), to complex and pricey (business use). Some basic options are made by Seagate (BlackArmor) and Western Digital (My Book). These are truly plug-and-play. Reviews for these were mixed though and I was not sold on either. One brand that repeatedly seemed to emerge as well-reviewed was Synology. The Synology units are not exactly plug-and-play, but if you are computer savvy, they are very straightforward. When you buy a Synology NAS, all you get is the enclosure, which houses the brains, but no drives. You need to buy your hard drives separately. Not hard since Synology tells you what drives work.
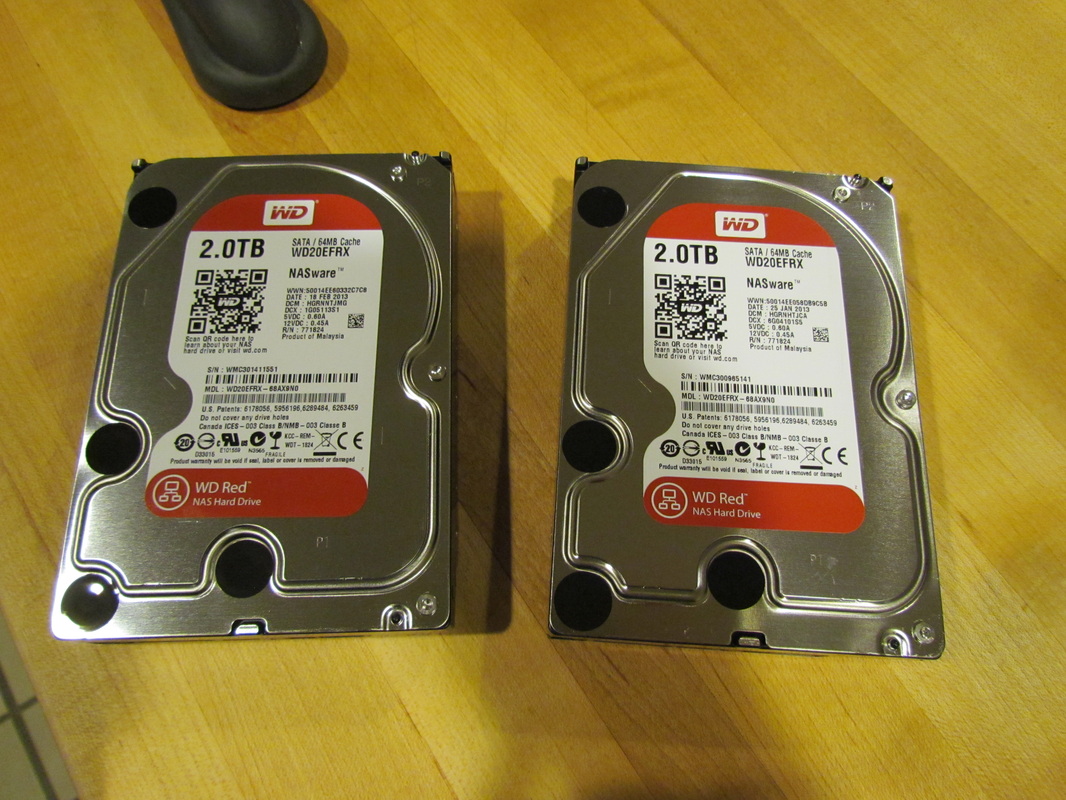
The two WD 2 TB drives - sweet.
I decided to go with a Synology DS213. A bit overkill, but I'll have no issues down the road with scalability or features. To go with the DS213, I got two Western Digital WD20EFRX drives, each with a 2-TB capacity. One of the key features of many NAS devices is RAID support, which, in a nutshell, means "backup." I am using a form of RAID specific to Synology, so I end up with 2 TB of actual storage - the other 2 TB are for the redundancy. In the future, I have the ability to replace these drives with larger capacity ones, although, at present, I can't imagine needing more space. (We are currently using about 5% of the storage space.)
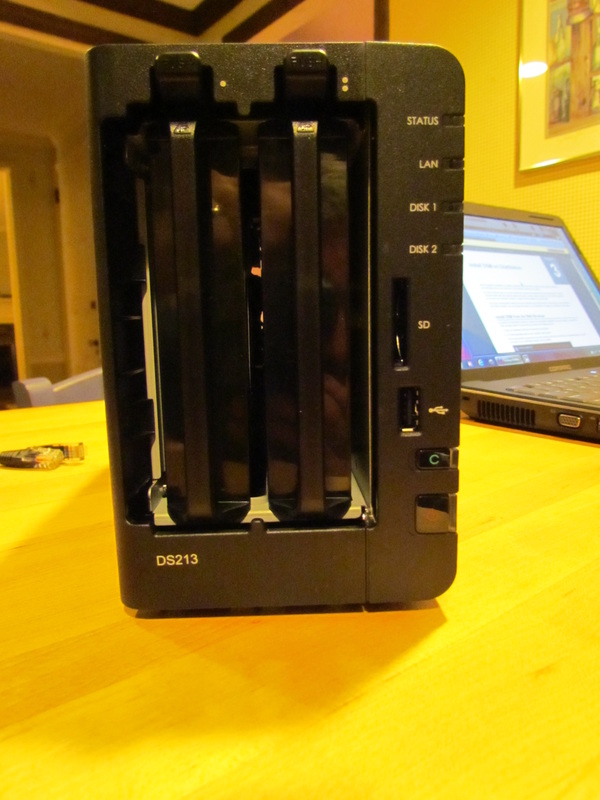
Synology DS213 showing the 2 drive bays.
Getting the system up and running was easy. Installing the drives was trivial and hooking the NAS to the network went smoothly. This model, like most, requires a direct-wire connection to your network, so it needs to sit near your router. You access the NAS via a web browser. The software for the DS213 is very good, as advertised. It has a wealth of features and capabilities, and as such, can be a bit overwhelming at times. But, in the end, it rocks. Besides being a file server (basically, a shared network drive), the DS213 provides a music server, a photo server, a video server, and a bunch more stuff (ftp, email, webcam interface, VPN, +++). Thus far, I have moved all our music off the old PC onto the NAS. Our photos and videos, which resided on another PC, have also been relocated to the NAS. After some more file transitioning, the old music server PC will be retired. We will also be able to phase out our other PC - the photo one. And lastly, I was just able to set the NAS up such that I can actually get to it from anywhere! In other words, I can play my content from my home music collection from anywhere I have Internet access using my smartphone or another PC. But the key will be playing music content at home ...
Phase II: Set up sound (SONOS)
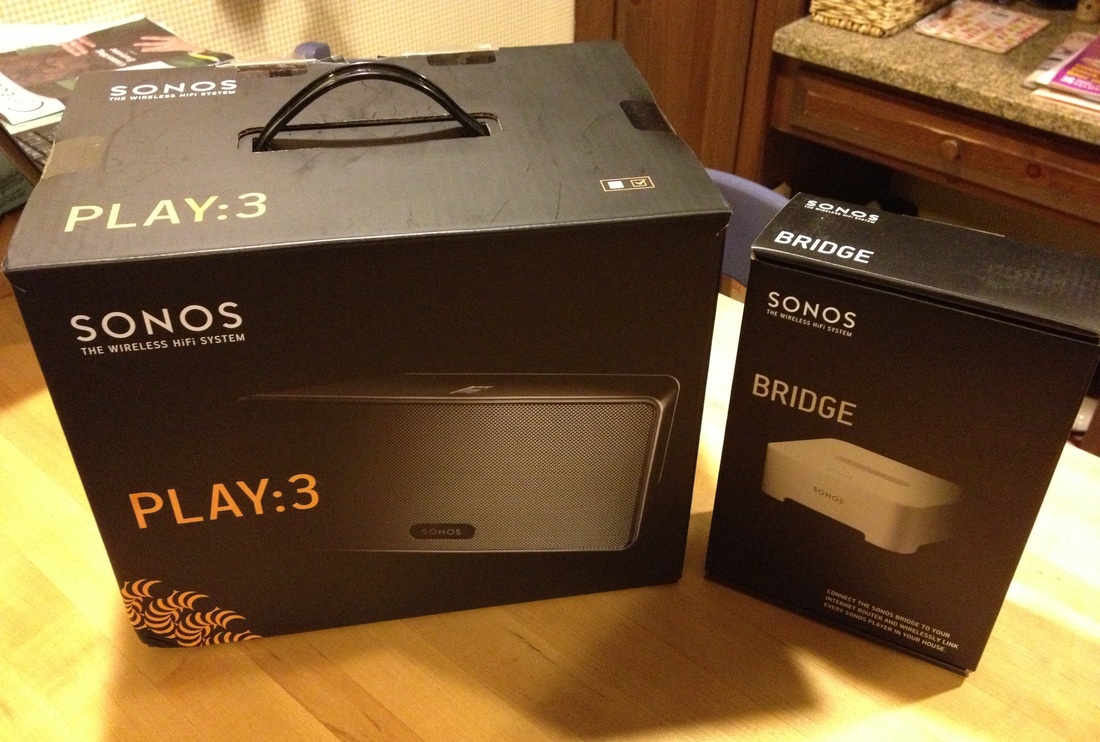
SONOS Play:3 and Bridge components.
15 minutes. That's my guess at how long it took to go from opening boxes to hearing music. The magic ... SONOS. SONOS is a wireless music system. In its most basic form, you stream Internet radio or your music library (from a NAS, say) to one of their standalone speaker units, like the Play:3 (there is also a bigger Play:5). But, it can be configured to do much more. For example, with another piece of SONOS hardware, you can wirelessly stream to your old, classic stereo system (amp+speakers). But I am getting ahead of myself.
SONOS was part of my master plan from the outset. The stuff is amazing. So, I knew it would be the means to provide the sound, and it was, in large part, what drove the NAS purchase. Since we are still sorting out the design/use of the living room space, the only place I knew I wanted sound was the kitchen. To do that, I got the smaller Play:3 and the Bridge. Unless your speaker is close to your router and can be directly Ethernet wired, you'll need the Bridge. It connects to your router and then talks to the rest of your SONOS components. It's cheap. It's the speakers that cost a bundle.
The setup was simple. Plug the Bridge into power and into the router via Ethernet cable. Put the Play:3 where you want it and plug it into power. Run the provided software, press a few buttons on each component to get it recognized on the SONOS network, and you're done. The last key step is just to point the SONOS Controller software to your music library. In my case, this was the shared music folder on the Synology NAS. Then comes the fun part. The SONOS Controller software is brilliant. With it, you can:
- Play music from your libary
- Play playlists from your library
- Play Internet radio
- Control volume, shuffle, cross-fade
- Play the same music across all your SONOS speakers throughout your home*
- Play different music on each of your SONOS speakers throughout your home*
- Control the volume of each speaker independently throughout your home*
- And more.
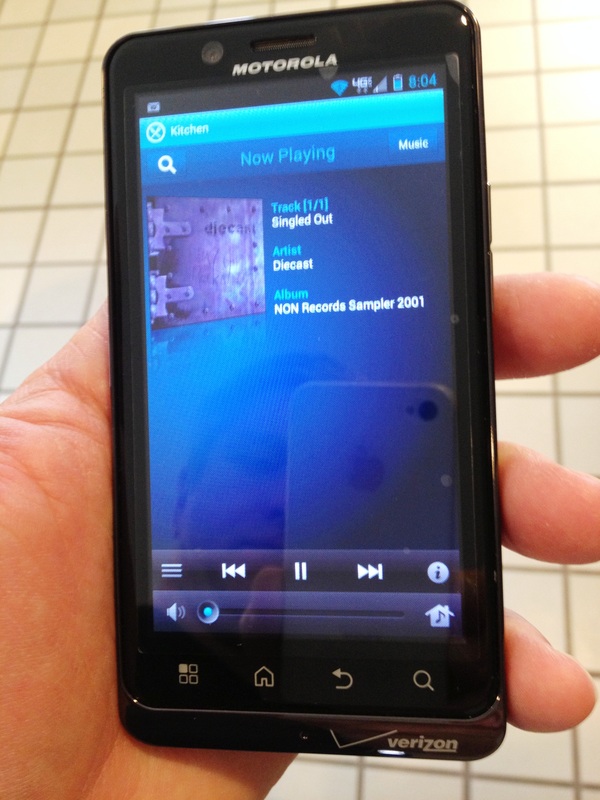
SONOS Controller on a Droid.
The SONOS Controller software runs on your PC as a basis. But, you can also download their Controller app and run the whole system from your iPad/iPhone or Android device. This how I plan to control the sound.
Phase III: Enjoy!
Indeed. Not much to say here. The sound is very good for the size of the speaker: tight and clear, mid-tones are strong and crisp, and the bass is decent. (The speaker is made up of 1 tweeter, 2 mid-range drivers, and a bass radiator.) But the coolest part is the system itself - the wireless, multi-room capability is just awesome. And it is simple to get running. 'Nuf said.


 RSS Feed